
What a Drop-Test Plan for Retail Siliphos Jars Actually Has to Prove
A drop-test plan for retail siliphos jars exists to answer three separate questions before a pallet ever leaves the plant: does the jar survive handling without breaking, does the closure stay sealed, and does the crystal inside still meet its particle-size specification after impact? A jar that arrives intact but half-filled with powder has failed, even if the photo looks clean.
This article is written for packaging engineers, quality managers, brand owners, and procurement staff who pack glassy polyphosphate crystal into consumer-size jars — typically 250 g to 2 kg — for retail sale. It covers how to choose a protocol, set drop heights and orientations, define pass/fail criteria, and document the result so it can support a design freeze or a supplier claim.
One clarification up front, because it affects how you read every test result: drop testing evaluates packaging performance. It says nothing about scale-inhibition performance, water softening, corrosion inhibition, or filtration. Those are functions of the chemistry and the dosing conditions, not of the jar. Keep the two test programs separate.
Start With the Distribution Reality, Not the Standard
Most failed drop-test programs fail at the planning stage, because the team picks a protocol before agreeing on how the jar actually travels. The same jar can need two different test programs depending on channel.
Parcel and e-commerce shipping
If the jar is sold online and shipped as a single parcel, it will be sorted on high-speed conveyors, dropped onto belts, and stacked under other parcels. The jar is usually the primary container inside a corrugated shipper, or it may be shipped in its own retail carton. Single-parcel profiles in commonly used protocols are the closest match here.
Palletized retail distribution
If jars go to a distribution center on a pallet, wrapped and stretch-filmed, the impact energy reaches the jar mostly through stacking, forklift handling, and pallet drops. Testing a single jar on its own over-tests the jar and under-tests the pallet and display configuration. Here you generally test the shipping unit — tray, display case, or shrink-wrapped bundle — rather than the bare jar.
Both channels
Many brands sell through both. Test the more severe configuration first, then confirm the milder one. Do not assume a pass in one channel transfers to the other.
Choosing a Test Protocol
Several published protocols are in common use. The table below summarizes how they differ in intent, so you can select one and confirm the details against its current edition.
| Protocol | What it is designed to do | Typical use for a jar program |
|---|---|---|
| ISTA 1 series | Non-simulation integrity test — a fixed, severe challenge | Fast screening, comparing two jar designs |
| ISTA 2 series | Partial simulation of a distribution cycle | Mid-level confidence for a defined route |
| ISTA 3 series | General simulation, including parcel delivery profiles | Direct-to-consumer and small-parcel SKUs |
| ISTA 6-Amazon.com-SIOC | Vendor-specific parcel requirement | Only if you ship under that specific program |
| ASTM D5276 | Test method for free-fall drop of loaded containers | The method used inside a broader test plan |
| ASTM D4169 | Practice for performance testing across a distribution cycle | Building a custom cycle for a specific lane |
| ISO 2248 | Vertical impact test by dropping filled transport packages | Programs that follow ISO packaging conventions |
The practical point: ISTA 1A and ISTA 3A are not interchangeable. If your product ships as an individual parcel and you only run a non-simulation test, you have not reproduced the parcel environment. Read the scope statement of the protocol you choose and confirm the current edition before you write it into a specification.
Drop Height, Orientation, and Sample Size
Drop height
Do not choose the height yourself. Each protocol publishes a height table in which the height decreases as package weight increases, because heavier packages are handled more carefully and land with more energy at a given height. The filled weight of the jar plus any secondary packaging determines the row you use. Record the filled weight precisely — a 1 kg nominal jar that actually fills to 1.08 kg can move you into a different row.
Orientation sequence
Impact damage is orientation-dependent. A jar that survives ten flat-bottom drops can still split at the shoulder or shear the closure off on a corner impact. A workable sequence covers:
- bottom face
- top face (closure down) — usually the most aggressive position for lid pop-off and leakage
- one long side face
- one edge
- one corner, including the shoulder-to-neck transition
If the protocol you selected prescribes a sequence, follow it exactly. If you are building an internal program, document the sequence and repeat it identically on every retest — a changed sequence invalidates comparison against the previous run.
How many jars
Sample size is set by the protocol, so confirm the requirement rather than assuming. For internal qualification work, a small number of jars per configuration is rarely enough to see variability from wall thickness, fill weight, and closure torque. Testing several units per configuration, drawn from different cavities or production hours if possible, gives a far more useful picture of the design’s tolerance.
Conditioning Before the Drop
Impact behaviour of plastics is temperature-sensitive, and closures behave differently when the liner is cold or warm. Standard practice is to condition the filled, closed packages in a controlled environment before testing — ASTM D4332 is the usual reference for conditioning packages for testing, and most protocols name their own conditioning conditions. Common lab conditions are around 23 °C and 50% relative humidity, but the value that matters is the one written into your chosen protocol.
If your product is stored in unheated warehouses or shipped in cold climates, add a low-temperature condition. This is often where a design that passed comfortably at lab temperature suddenly cracks at the shoulder.
Define Pass/Fail Criteria Before the First Drop
Writing acceptance criteria after seeing the damage is the fastest way to an indefensible test report. Fix them in advance, and separate package criteria from product criteria.
| Category | What to inspect | Example acceptance criterion |
|---|---|---|
| Primary container | Cracks, crazing, stress whitening, deformation | No crack or split visible to the unaided eye |
| Closure | Back-off, cross-threading, liner displacement | Closure remains seated; removal torque stays within the written specification |
| Seal integrity | Product escape | No visible leakage; gravimetric check within the agreed tolerance |
| Product | Fracture, fines, dust | Increase in fines below the limit set for the grade |
| Label and decoration | Scuffing, lifting, illegibility | Mandatory information fully legible; no edge lifting beyond the agreed limit |
| Secondary packaging | Carton, tray, shrink film | Retains containment and can still be handled safely |
For the seal check, a simple gravimetric method works well: weigh the jar immediately before and after the drop sequence on a calibrated balance with sufficient resolution, and hold it over absorbent paper for an agreed observation period. Any weight loss or marking indicates a seal path worth investigating.
Test the Crystal, Not Just the Jar
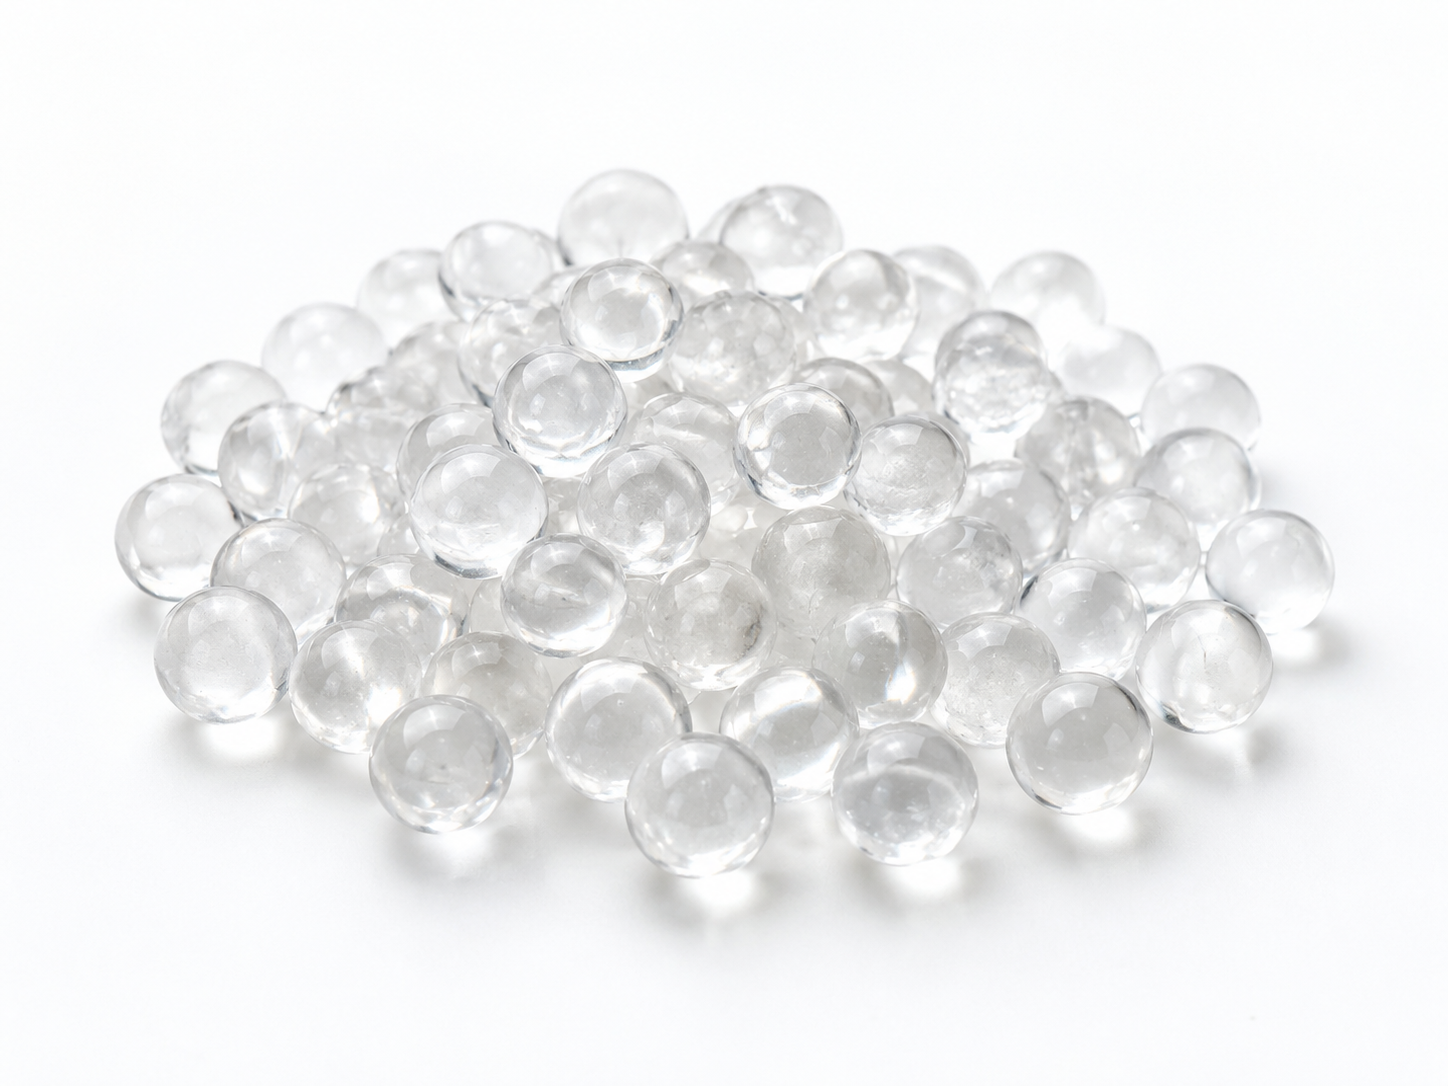
This is the step most jar programs skip. Glassy polyphosphate crystal is hard and brittle. A drop that looks harmless to the container can fracture spheres internally, generating fines that change the dissolution behaviour of the product and create dust when the consumer opens the lid — a complaint driver and a dosing-accuracy problem.
Run a sieve check on a representative sample from each tested jar, using the sieve set that matches the specified particle-size distribution of the grade you are packing, and compare against an untested control from the same batch. Report the change, not the absolute value. If your specification does not yet define an acceptable increase in fines, agree one with your technical contact before testing begins.
A Workable Test Matrix
- Select the configuration: bare jar, jar in retail carton, jar in shipper, or palletized display unit.
- Record filled weight, fill height, headspace, closure type, and applied torque for each unit.
- Condition all units under the chosen protocol conditions for the required period.
- Weigh and photograph each unit before testing.
- Run the drop sequence in the documented orientations.
- Inspect, photograph, and re-weigh immediately after the sequence.
- Hold for the agreed observation period and check again for leakage.
- Open the jar, sieve the contents, and compare with the control.
- Record torque on removal and note any change against specification.
- Repeat the identical sequence on any design revision so results are comparable.
Common Failures and Their Usual Causes
| Symptom | Likely driver | Direction to investigate |
|---|---|---|
| Closure backs off after top-face impact | Insufficient applied torque, thin liner, low-friction thread finish | Torque specification, liner material, thread design |
| Split at shoulder or neck | Thin wall section, residual stress, low temperature | Moulding parameters, wall profile, conditioning temperature |
| Bottom cracks on flat drop | Rigid base design, high fill weight, no base radius | Base geometry, resin choice, fill weight tolerance |
| Heavy fines after test | Excessive headspace, no internal cushioning, brittle crystal | Headspace reduction, jar height, particle-size specification |
| Label lifting or scuffing | Adhesive not suited to the surface, film too thin | Label substrate and adhesive selection |
Reporting and Design Freeze
A drop test is only useful if the record can be read by someone who was not in the room. Capture the protocol name and edition, conditioning conditions, filled weights, drop height, orientation sequence, sample count, inspection criteria, photographs before and after, sieve results, and torque readings. Include a clear statement of which configuration passed and which did not.
When a design passes, freeze the variables that were tested: jar resin and wall profile, closure and liner, torque range, fill weight and headspace, and any secondary packaging. A subsequent change to any one of these usually requires at least a partial retest.
What Drop Testing Does Not Tell You
Be explicit about the boundaries when you circulate results internally:
- It does not demonstrate water-treatment performance. Scale inhibition, softening, and corrosion inhibition depend on the chemistry, the dosage, and the water conditions — not on packaging.
- It does not establish that the product or packaging is suitable for drinking-water contact in a given market. “Food grade” describes a material’s compliance route; it is not the same as a potable-water approval. Suitability must be verified for the exact product, application, and destination market.
- It does not confirm transport classification. Confirm separately whether your destination market treats the filled product as a regulated good, which would bring additional packaging requirements.
- It does not represent a real pallet stack or conveyor unless your configuration reproduces them.
Frequently Asked Questions
Do I need a drop test if the jar is only sold locally on a pallet?
If the jar is only handled on a pallet from plant to store shelf, a full parcel-grade drop test overstates the risk. Test the palletized or display-ready unit under a stacking and handling protocol instead, and keep the bare-jar drop test for design comparison only.
Can one drop height cover every jar size in my range?
No. Height is tied to filled weight and, in some protocols, to the shipping configuration. A 250 g jar and a 2 kg jar will not share the same row. Confirm each SKU against the height table in your selected protocol.
Is a pass in ISTA 1A enough for Amazon or other parcel channels?
Generally no. The ISTA 1 series is a non-simulation integrity test. Parcel channels are better represented by a general simulation protocol or the channel’s own requirement. Check the current requirement with your channel before committing.
Should I test the jar empty or filled?
Filled and closed, at the nominal fill weight. An empty jar has different mass distribution and a different failure mode, so an empty-jar test does not predict field performance.
The crystal fractures but the jar is intact. Is that a failure?
It depends on the specification you set for fines and appearance. If the fractured material still meets the particle-size distribution and the consumer-visible quality standard, it may be acceptable. Decide this before testing, not after.
Setting Up Your Program
A defensible drop-test plan for retail siliphos jars comes down to four decisions made in the right order: define the real distribution environment, select the matching protocol, fix the pass/fail criteria in writing, and measure both the container and the crystal after impact. Everything else — heights, orientations, sample counts — follows from the protocol you selected and should be copied from its current edition rather than estimated.
If you are qualifying a jar design and need to align the crystal specification with the packaging, ENVO CHEMICAL can review the grade you intend to pack. Send the application, the jar size and fill weight, the closure type, your target distribution channel, the particle-size specification you are working to, and the quantity you expect to run. With those details, we can confirm what is relevant to your program and what still needs to be verified on your side.
