
A replacement polyphosphate cartridge that will not seat properly is almost always a fit problem, not a media problem. Before you question the polyphosphate crystal inside, check four things in order: the cartridge’s outer dimensions and end-cap geometry, the condition and size of the O-ring or gasket, debris or damage in the housing seat, and the way the cartridge is being installed. In the great majority of cases, one of those four items explains why the cartridge sits high, leaks at the joint, or lifts once the housing is pressurized.
This article is written for filter and water-treatment equipment manufacturers, importers, distributors, and service contractors who handle replacement cartridges regularly and need a fast, repeatable way to diagnose a seating failure rather than guess at it.
Why a replacement cartridge fails to seat: the short answer
A cartridge seats correctly only when three interfaces match at the same time: the radial fit (outside diameter against the housing bore), the axial fit (overall length and how far the cartridge travels into the head), and the sealing interface (O-ring, gasket, or flat face against its mating surface). If any one of these is even slightly out of tolerance, the cartridge will stop short, cock sideways, or seal only until pressure is applied.
Replacement cartridges are frequently bought as “equivalent” parts. Two cartridges can look identical on a shelf and still differ by a millimetre in pilot diameter or by a few degrees in keyway position — enough to prevent seating. That is why measurement, not visual comparison, is the reliable method.
Step 1: Identify which type of “not seating” you actually have
The symptom narrows the cause considerably.
- Will not enter fully by hand. Usually a dimension or keyway problem, or debris in the bore.
- Enters but sits proud of the housing face. Axial length, end-cap stack height, or a swollen/warped cartridge.
- Seats by hand but leaks at the joint under pressure. Seal-related: wrong O-ring size, dry or twisted O-ring, damaged seat, insufficient compression.
- Seats, then lifts or pops out when the water is turned on. Flow direction, pressure imbalance, air entrapment, or a missing retaining feature.
- Seated correctly when new, fails after weeks in service. Media swelling, thermal expansion, or gradual extrusion of the seal.
Write down which of these you observe before touching any tools. It prevents replacing parts that were never the problem.
Step 2: Measure the cartridge — and keep the old one
The single most common mistake during troubleshooting is discarding the used cartridge before comparing it with the replacement. Always retain the old part until the new one is confirmed seated and leak-free.
Using calipers, record the following on both the old and the new cartridge:
| Measurement | Why it matters |
|---|---|
| Maximum outside diameter of the body | Determines whether the cartridge can enter the housing bore at all |
| Overall length, end cap to end cap | Controls how far the cartridge travels and whether it sits flush |
| Pilot / neck diameter and length | The pilot centres the cartridge; a few tenths of a millimetre matter here |
| End-cap profile (flat, stepped, recessed) | Must match the head geometry, not just the diameter |
| O-ring inside diameter and cross-section | A seal that looks right but is the wrong cross-section will not compress correctly |
| Keyway, lug, or bayonet position | Angular misalignment blocks full insertion even when diameters match |
| Thread pitch (threaded cartridges) | Metric and imperial threads of similar diameter do not interchange |
If the replacement differs from the original by more than the housing manufacturer’s stated tolerance, stop there. No amount of lubrication or force will correct a dimensional mismatch, and forcing it risks cracking the housing head.
Check for dimensional drift, not just wrong parts
Housings change between production batches, and so do cartridges. A cartridge that fitted the same model number last year may not fit this year’s housing if the mould, tooling, or supplier changed. When a user reports that “the same part number no longer fits,” compare a current cartridge against a retained sample rather than assuming the new one is defective.
Step 3: Inspect the sealing interface
Seal faults are the second-largest cause of seating complaints, and they often present as a cartridge that appears seated but weeps.
- Wrong O-ring. Correct inside diameter with the wrong cross-section is a very common substitution error.
- Dry installation. An unlubricated O-ring can roll, twist, or shave, which prevents full travel into the seat. Use a lubricant that is compatible with the application and the seal material — confirm compatibility with the seal and media supplier rather than assuming any silicone grease is acceptable.
- Twisted or pinched O-ring. Remove it, inspect the full circumference, and refit.
- Hardened or swollen seal. Age, oxidising agents, and certain water chemistries degrade elastomers. A seal that has taken a permanent set will not return to shape.
- Damaged seat surface. A scratch, score line, or embedded scale on the seat will leak regardless of a new O-ring.
- Missing or inverted gasket. Flat gaskets are orientation-sensitive in many designs.
Do not confuse sealing with treatment
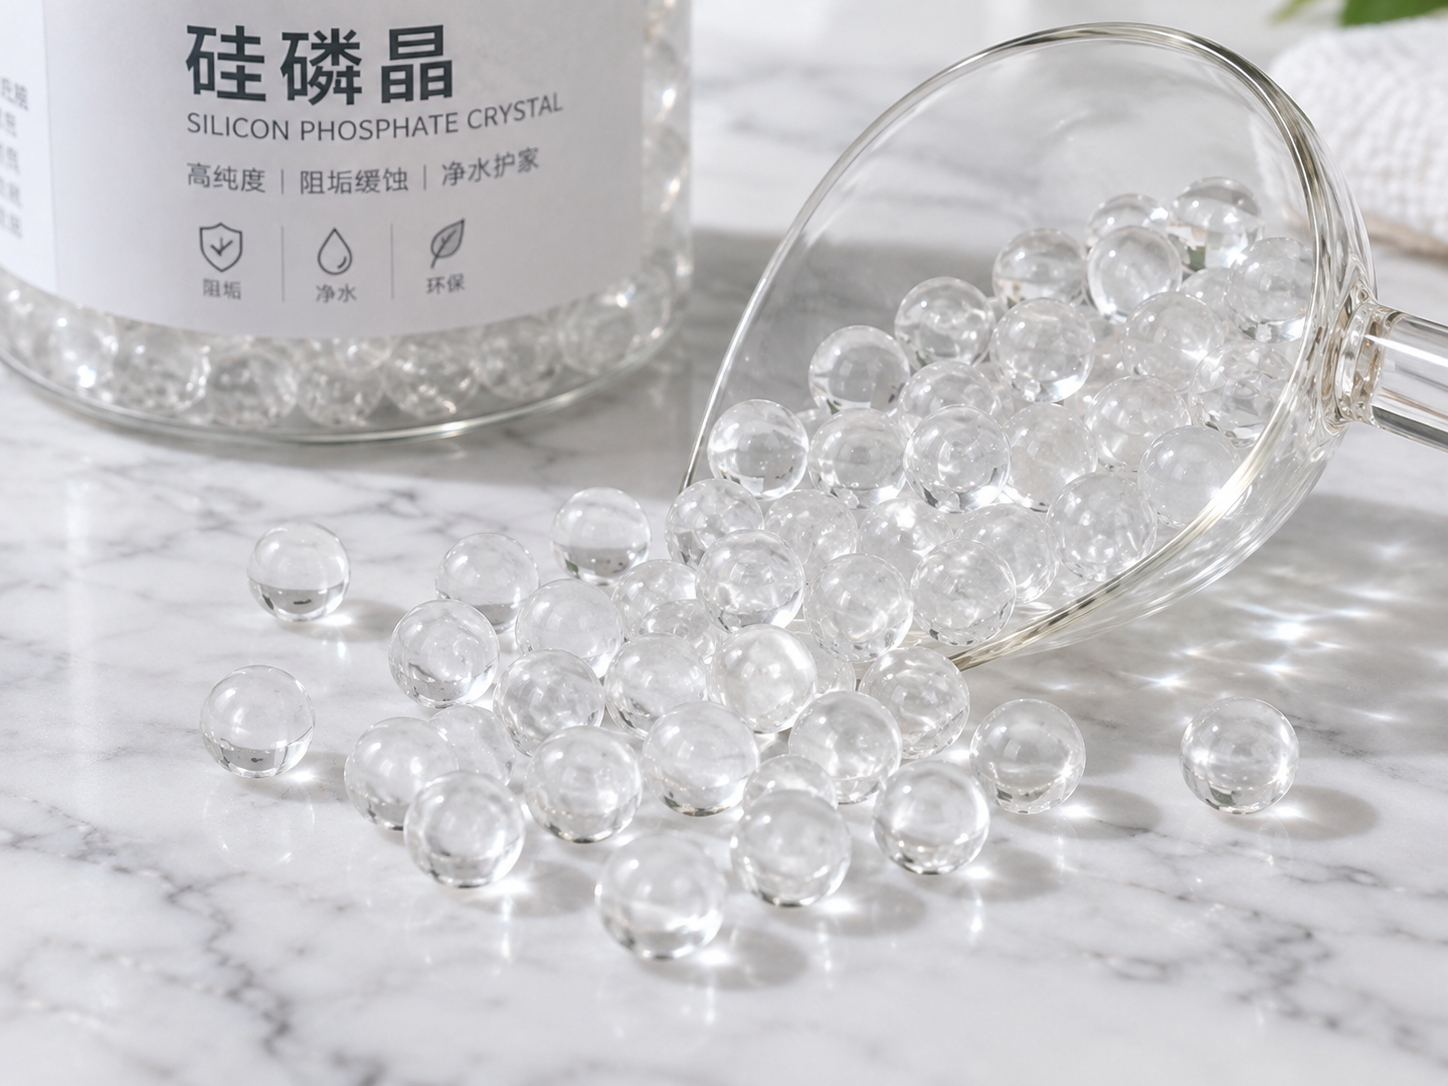
It is worth separating functions clearly here, because the terminology around this product category is loose. A polyphosphate cartridge releases a slow-dissolving glassy phosphate that inhibits scale formation and can help sequester hardness ions. It does not soften water in the ion-exchange sense, does not remove existing scale from pipes, does not filter particulate, and does not disinfect. Products sold under names such as Siliphos, siliphos crystal, or phosphate crystal are not guaranteed to be technically identical to one another — formulations, dissolution behaviour, and approved applications differ by manufacturer. When a seating problem is resolved, you have restored the mechanical fit only; treatment performance is a separate question.
Step 4: Inspect the housing side
Before concluding that the cartridge is at fault, examine the housing.
- Debris in the bore or seat. Fragments of an old gasket, scale, sand, or packaging material will hold a cartridge proud by a fraction of a millimetre.
- Scale or corrosion build-up. In hard-water service, mineral deposits narrow the bore and roughen the seat.
- Cross-threaded or damaged threads. A housing head that has been over-tightened may no longer accept a cartridge squarely.
- Cracked head or bowl. Hairline cracks relieve the compression needed for sealing and can also change the geometry.
- Worn retaining features. Snap rings, clips, and bayonet lugs lose material over repeated service.
- Wrong housing for the application. A cartridge intended for a different housing family will never seat correctly, no matter how close the dimensions look.
Step 5: Check orientation and installation method
Several seating failures come down to technique rather than parts.
- Flow direction. Many cartridges are directional. Installing one against the indicated flow path can cause the media to shift and the cartridge to lift.
- Angular alignment. Bayonet and keyed designs require the lug or keyway to be lined up before any downward force is applied.
- Over-tightening. Excess torque distorts end caps and can drive a cartridge off-centre.
- Air not purged. Trapped air produces pressure spikes on start-up that can dislodge a marginally seated cartridge. Vent the housing according to the equipment manufacturer’s instructions.
- Housing not depressurised before service. Residual pressure prevents full insertion and can damage the seal on removal.
A practical diagnostic sequence
- Confirm the exact symptom and when it occurs.
- Isolate the housing and depressurise it fully.
- Remove and retain the old cartridge; clean the bore, seat, and threads.
- Measure the old and new cartridges against the dimensions in the table above.
- Inspect and measure the O-ring or gasket; replace if there is any doubt.
- Dry-fit the new cartridge without the seal to confirm it can travel fully into position.
- Refit the seal, lubricate as appropriate, and insert with light, even pressure and correct alignment.
- Close the housing, vent air, then pressurise gradually and observe the joint.
- If it still fails, document the measurements and contact the cartridge and housing suppliers with the numbers rather than a description.
Buying replacement cartridges that actually fit
Most seating problems are decided at the purchasing stage. When specifying a replacement polyphosphate cartridge or refillable cartridge body, supply the supplier with:
- Housing manufacturer, model, and generation or production date if known.
- Measured cartridge dimensions, not just a part number.
- End-cap type and connection style.
- O-ring dimensions and material, or the original seal as a sample.
- Source-water conditions relevant to the media choice, such as hardness and temperature range.
- Destination market, since drinking-water suitability must be verified for the exact product and application — a “food grade” description alone does not establish that a product is approved for potable water.
ENVO CHEMICAL supplies polyphosphate and siliphos-type crystal media and can review your housing and cartridge dimensions when the fit issue is dimensional rather than a sealing fault. Where the required information is not available to us, we will tell you what needs to be confirmed rather than assume a specification.
Frequently asked questions
Can I force a cartridge that is slightly too large?
No. Force distorts end caps, damages seals, and can crack the housing head. If the cartridge does not enter fully under light hand pressure with correct alignment, the cause is dimensional and needs to be corrected at the part level.
Why did the same part number seat last year but not now?
Either the housing or the cartridge has changed. Tooling revisions, different production batches, or a change of media supplier can shift dimensions by amounts that matter at the seal. Compare against a retained sample.
Does a leaking joint mean the cartridge is defective?
Not necessarily. Leaks more often come from the O-ring, the seat surface, or the seal’s compression than from the cartridge body. Inspect both before deciding.
Can the polyphosphate media itself cause the cartridge to swell?
Media behaviour in water varies by product and formulation, and some cartridges do change slightly in service. Whether swelling is a factor for your specific cartridge should be confirmed with the cartridge supplier, since it depends on the design and the water chemistry involved.
Send us your dimensions
If a replacement cartridges is not seating and you have already measured it, send us the housing make and model, the old and new cartridge dimensions, the end-cap and connection type, the seal dimensions, your flow rate and source-water conditions, and the required quantity and destination market. With those details we can tell you quickly whether the issue is a specification mismatch or something on the housing side.
